Introduction:
Nowadays everything becomes wireless even printers. If you are using a cannon printer, then connecting printer to wifi can makes your printing experience super easy. In this article we will tell you simple steps by which you can connect your canon printer to wifi.
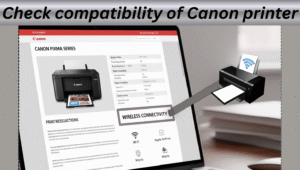
Step 1. Check compatibility of canon printer
First of all it is important to check if your printer is wifi enable model or not. Most of canon printers like Canon PIXMA and Canon image Class having option of wireless setup.
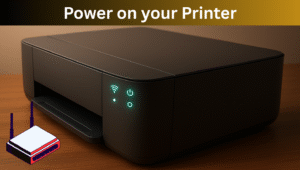
Step 2. Power on your Printer
- Plug in power cable and ON your printer
- Wait for printer’s screen or LED light
If the screen is black then press power button again.
Step 3. Go to Wifi settings of printer
- Press menu button of printer
- Find wireless LAN setup or network settings
- Select Easy wireless connect or Standard setup
Step 4. Choose wifi network
- Printer will scan nearby wifi networks
- Choose your wifi name
- Enter your wifi password
If everything went right the printer will show connected successfully or connected to wifi message on the screen.
Step 5. Connect canon printer to your mobile or laptop
Canon printer app (for mobile)
- Download canon printer app from Playstore or Apple store
- Select add printer or register printer after open the app
- Follow on screen instructions
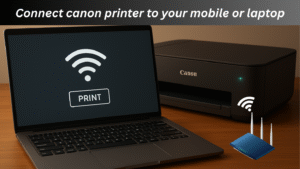
For laptop
- Download latest drivers from canon website
- Choose wireless connection during installation
- Printer will automatically detect if it is on same wifi
Troubleshooting tips if Printer is not connecting
- Check your wifi password again
- Keep minimum distance between printer and router
- Restart you router
- Factory reset printer from reset settings then connect again
Read More
How to Connect HP Printer to WiFi
What is AT&T wifi? Fast Internet Speed Network
How to Connect Roku to WiFi Without Remote
Cox High Speed WiFi-Reliable Internet for Your Home
My opinion
Printing becomes easy. You can connect your printer with wireless networks very easily by follow above steps without need of any technician.